
I almost didn't write this post.
Mostly because if you found out how easy this is to do you'd stop complimenting me on my craftiness.
What?!?
A girl needs reassurance she's awesome.
Oh you too?
Ok.
Good.
Thought I was going to be alone on that one for a minute.
If any of you know me, been inside my home, gotten married, or received a Christmas present from me, you know that I love up-cycling old things into fancy things for the home.
Lately, I'm all about old windows.
This idea came to me when I moved into my home. The previous homeowners had wall decals all over the walls and left them behind (along with their dog's hair...rude) for me to take off. I quickly realized once you peel them off they are ruined.
I was fine with it. The one in the master bedroom said "Kiss me goodnight."
Can you see it now? "Goodnight, self. Muah!"
No thanks :)
Wall decals are cool (mostly because they kept appearing on Groupon for SUPER cheap) and I wanted to use some around my house to decorate. But, if I ever had to move I didn't want to have to crinkle them up into a ball and throw them away because they aren't re-usable.
Then I had one of those moments.
You know the ones where an awesome idea just appears in your mind.
I happened to be staring at a collection of about 13 windows I had in my garage at the time.
It may or may not have had something to do with my genius moment.
I loved the look.
So, naturally I made more.
More for myself and a few to give as gifts.

As far as how I make them, it is pretty easy.
Measure your window, and find a decal that will fit. If you can't find a decal that will fit your window, or you don't see one you like, most of the places that sell them usually have a custom order option. So, get creative and make your own or ask them to change around their measurements to fit what you are working with. They usually are pretty accommodating.
Next, paint your window.

I bought one of these little sample size black paint cans at Lowe's to do the black windows that I've done. I believe this was like $2.00 give or take a few pennies and I've probably done 4 windows with it and there is plenty left. It works great.
The white ones I did with some paint I found in my garage the previous homeowners left me.
Using paint from the garage has nothing to do with me not wanting to go to the store because I hadn't showered in two and a half days. Get your mind out of the gutter.
When you find the paint you want, slop (ok, don't really slop, but you don't have to be perfect) some paint on the wood part of the window. If you get some paint on the glass its ok. It wipes right off with a paper towel.
Put a couple coats on making sure you wipe the excess paint off the glass after each coat. If you let it dry it's more difficult to get off. It's possible, it's just really annoying/frustrating/makes me wanna pull my hair out.
This may or may not have happened in real life. And my friend Joani who does my hair wonders why I'm going grey at 25.
I'M GOING GREY AT 25.


Someone tell me this is normal?
If you like the distressed look use some sand paper, a sanding block, or even a nail file (it works, not saying I recommend it) and then rub some walnut stain on the sanded part of the wood to get the distressed look.
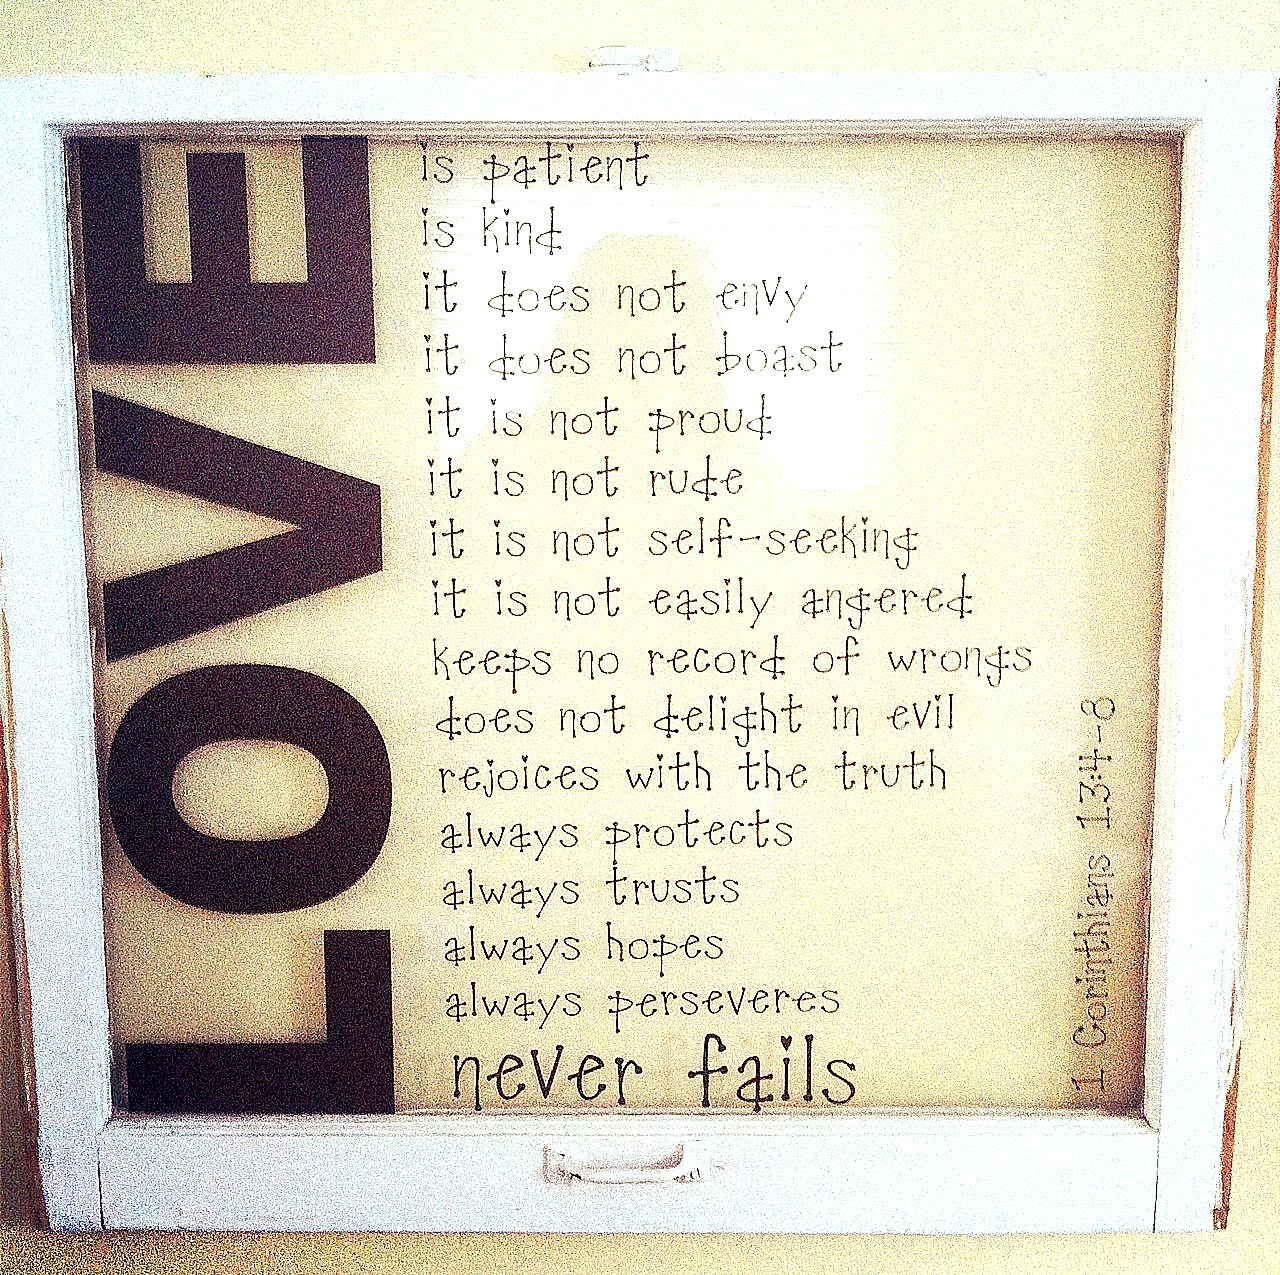
Then, apply your decal.
What I've found works best for me is to cut the decal into smaller more manageable pieces so it doesn't get all lumpy. The paper is really sticky, and if you don't have multiple hands then sometimes it falls and sticks to the glass and it's just a mess.
Once you have it all laid out, get out your credit card/debt card/Hy-Vee Gas Card or all three and press it down pushing out all of the air bubbles and making it smooth.
Peel off the paper and....viola!
Now step back, throw your hands up in the air, and yell I'M AWESOME!
Then do the booty pop.
Why?
Because you're awesome!
And I said so.
It took me a while to figure out how to hang these. They are too heavy for command strips, and you can't use a nail because it won't work. I haven't done a very good job of putting the hardware on the ones I've given away as gifts because I didn't have any around, (sorry Alex, Rachel and Katie!) but there is a product I've found that does work really well for these windows.

D-Ring hangers work awesome for windows or any other up-cycled decor you may have to hang up around the house. I've found them at Lowe's and Hobby Lobby, but I'm assuming you could find them at any hardware store.
Attach them to the window, put a couple nails in the wall, make sure it's level, and you're off to the races!
Pretty cute huh!?
What have you done with your old windows lately?
I was just wondering how I was going to hang my window the other day :) I will have to pick up some of those hangers!
ReplyDeleteI'm so sorry! I totally spaced it off. Use the 40% off coupon at Hobby Lobby and they won't be too expensive!
Delete